|

Change Aspect Ratio |
|
Choosing the right aspect ratio for your photos is key if you want them to display correctly on the right device or platform. This article gives a clear description of the aspect ratios, explains how to use the functions of changing the aspect ratio of photos in Able Batch Image Converter.
|
What is an aspect ratio? |
|
The aspect ratio of pictures (photos) is the ratio of the measure of pixels from width to height. This ratio relates directly to the display on which a photo is being played as well as the shooting ratio of the camera – you can shoot something in 16:9 and display it in 4:3 if you want.
|
How to change the aspect ratio of a photo with
|
|
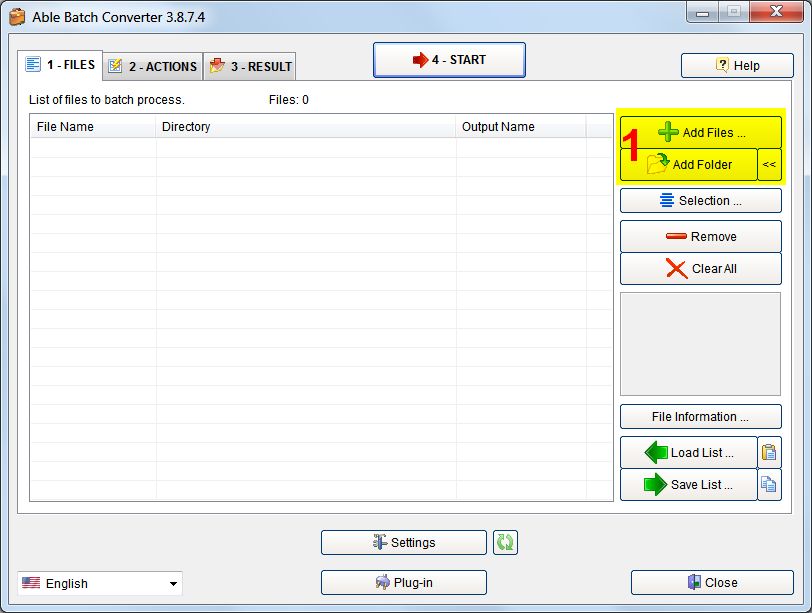
Able Batch Image Converter lets you make sure that the results of your photo conversion will have the correct aspect ratio. You can use this program to permanently change the aspect ratio of your photo to meet the needs of your target device when you want to prepare a photo. Step 0. Install the Able Batch Image Converter. DOWNLOAD the installation file for Able Batch Image Converter and install the software on your computer. It will take just a few minutes. Step 1. Add your photo files. Click the FILES tab. Click Add Files or Add Folder. Add Files: This will open the Open Files dialog box. Select the images to be converted, then click the Open button. This will add selected files to the List of files. Add Folder: This will open the Browse for Folder dialog box. Select required folders to be converted, then click the OK button. This will add all files from these folders to the List of files.
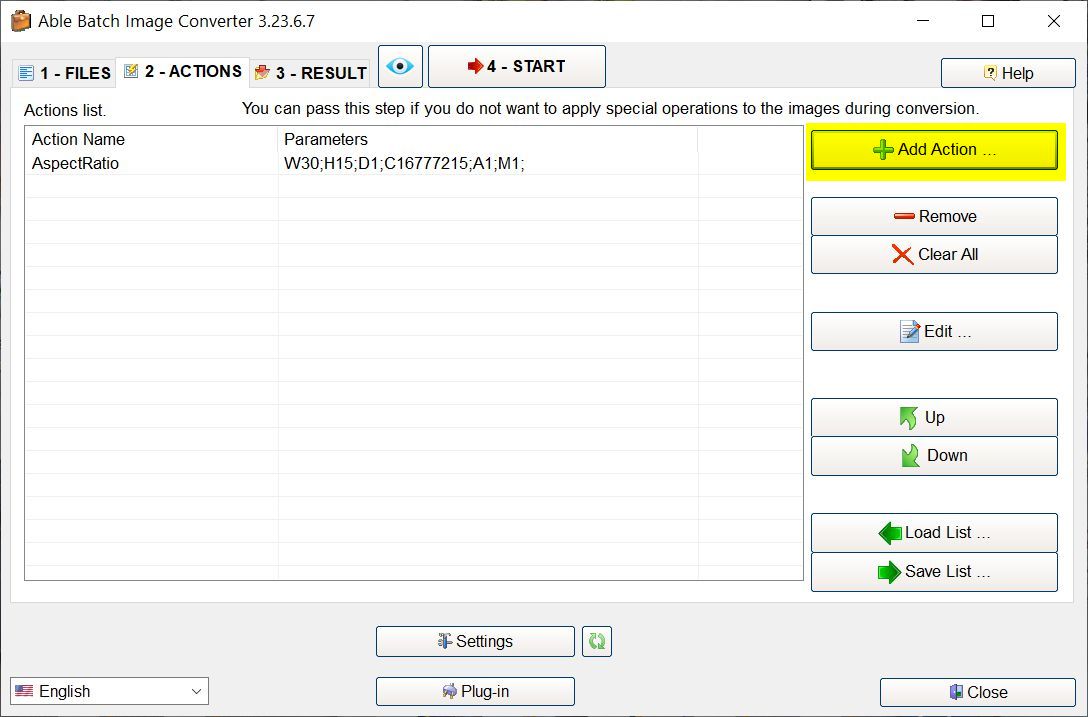
Step 2. Add a new action - Change Aspect Ratio.
Click Add and select Change Aspect Ratio action. You will see the following window with necessary settings.
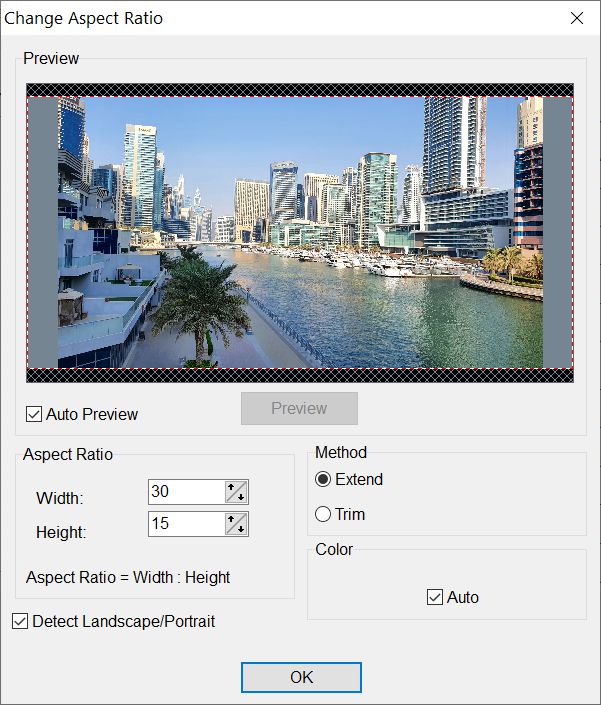
Aspect Ratio Here you can set your desired aspect ratio. Detect Landscape/Portrait Allows to detect optimal orientation. Method Allows you to select the method to use for changing the aspect ratio of the image. Extend - Adds margins to the original image to get the
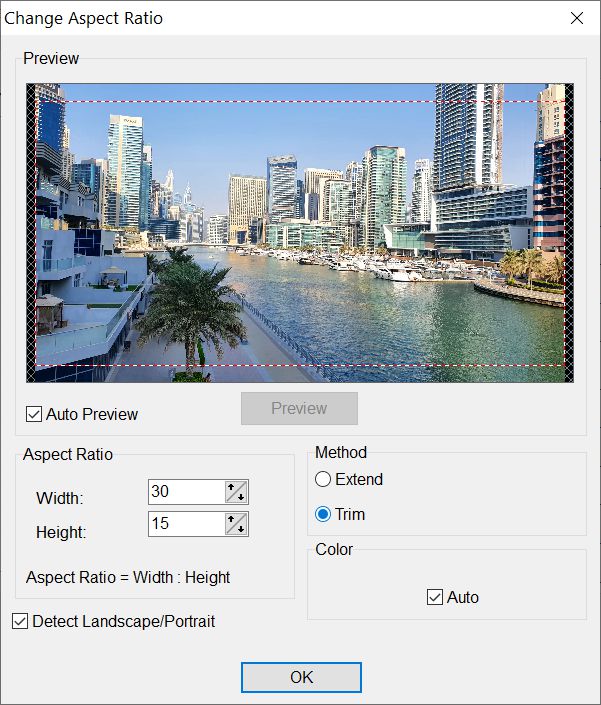
desired aspect ratio Trim - Trims the edges of the original image to obtain
the desired aspect ratio
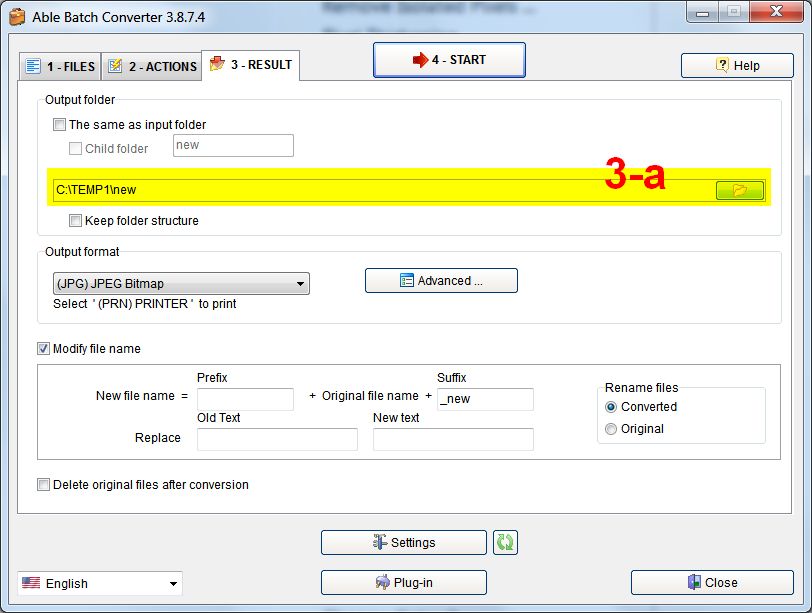
Click OK. Step 3. Specify output settings. Click the RESULT tab. Output folder. You need to decide where you want the files to be placed after converting. If you want the images to be placed in the same folder you loaded them from, click The same as input folder check-box. If you want to put them in a different folder, click the Browse button, and navigate to where you want them placed (fig. 3-a).
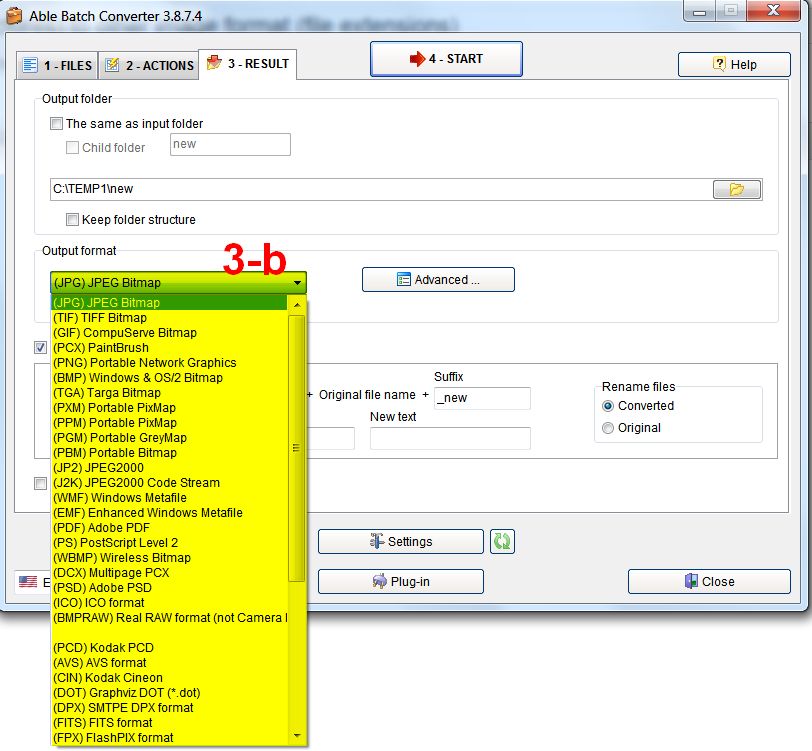
Use the drop down list to select the Output format.
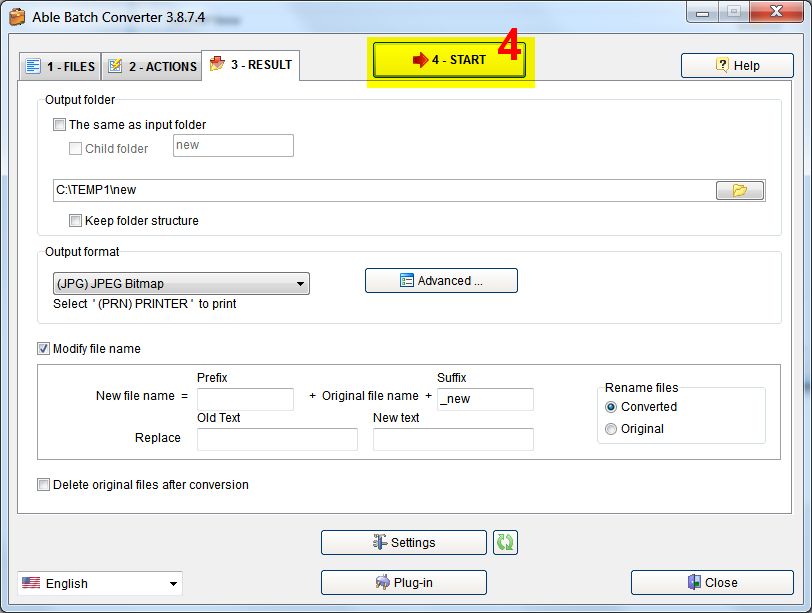
Clicking the Advanced button, will open the Settings dialog box (with specific parameters for each format). Step 4. Launch conversion If everything is set the way you want it, click Start.
FILES tab will open, showing the files being processed. When it’s finished, click the Exit button, and close Able Batch Image Converter. Now you can navigate to the folder you chose for the output folder, and if everything went the way it’s supposed to, your converted images should be there.
DOWNLOAD “Able Batch Image Converter” >>
|
|
to our free |
|
Follow us:
|


| Copyright © 1997-2026
GraphicRegion.com. All rights reserved. Terms of use Privacy statement Links Site map We are using Two Pilots virtual printer |